NEAR
NEAR Validator Mainnet Guide🚀
How to update The node
https://github.com/pinrocks/Node-1/blob/a2afff602c99b4f4f93b2f7ca0b94068d53d4209/Mainnet/NEAR/update.md#L2Definitions
<pool_id> or pool_id - your pool name, for example, nearguild
<full_pool_id> or full_pool_id - The full name of your pool, for example, xxx.poolv1.near, where xxx is your pool_id
or accountId - Your account name in the format xxx.near, for example, nearukraineguild.near
Setup using NEARCore
Step 1 – Installation required software & set the configuration
Before you start, you might want to ensure your system is up to date.
sudo apt update && sudo apt upgrade -yInstall Python
sudo apt install python3 git curlInstall Building env
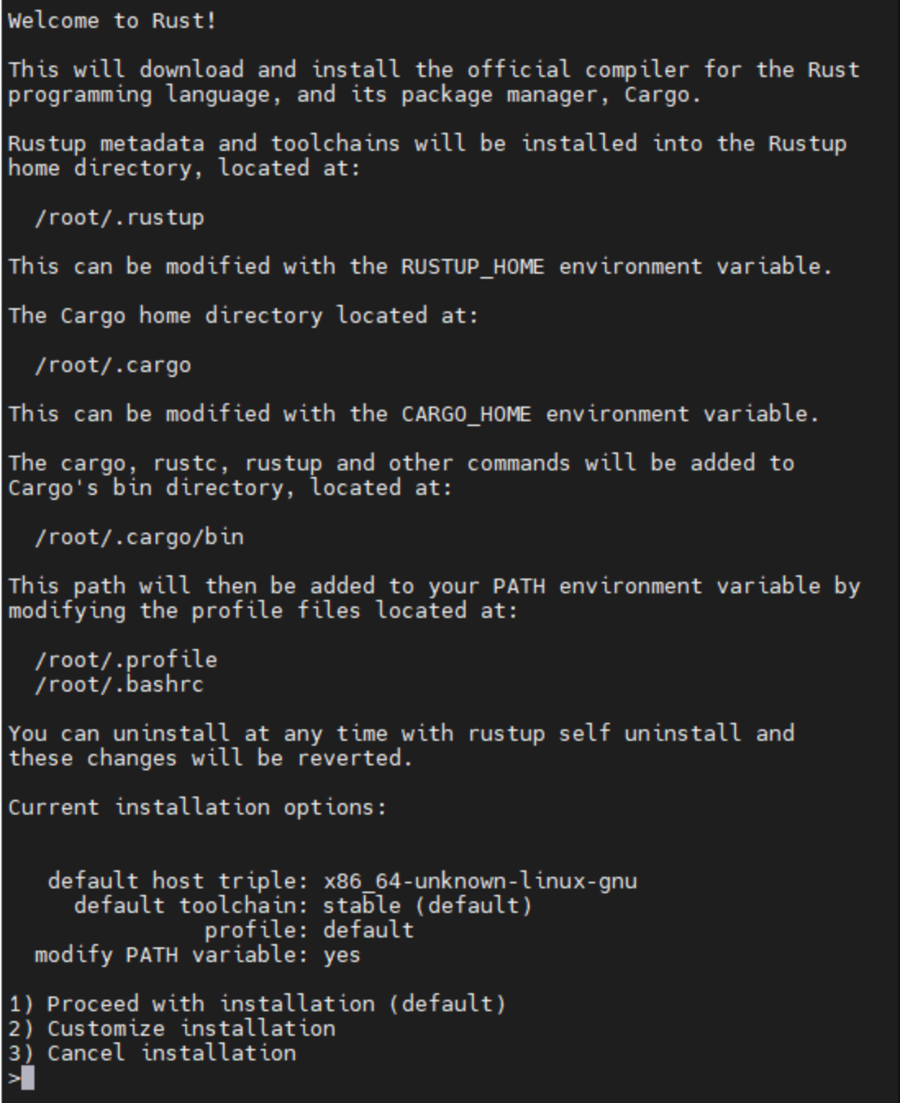
Install Rust & Cargo
Press 1 and press enter 
Source the environment
Clone the NEARCore Repo
Set environment to the latest release tag. For the latest release tag, please check here: https://github.com/near/nearcore/releases. Note: RC tags are for Testnet only.
Install Nodejs and NPM
Install Near CLI
Once NodeJs and NPM are installed you can now install NEAR-Cli.
Unless you are logged in as root, which is not recommended you will need to use sudo to install NEAR-Cli so that the near binary to /usr/local/bin
Launch this command so set the Near Mainnet Environment:
You can also run this command to set the Near testnet Environment persistent:
Step 2 – Create a wallet
MainNet: https://wallet.near.org/
Step 3 – Authorize Wallet Locally
A full access key needs to be installed locally to be able transactions via NEAR-Cli.
You need to run this command:
Note: This command launches a web browser allowing for the authorization of a full access key to be copied locally.
1 – Copy the link in your browser

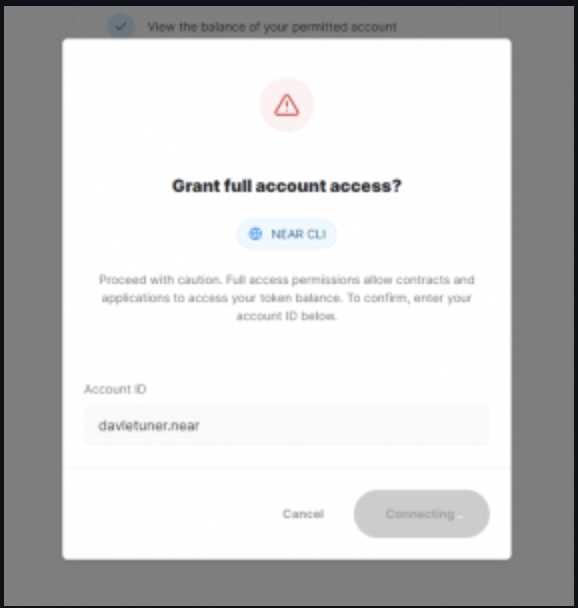
2 – Grant Access to Near CLI

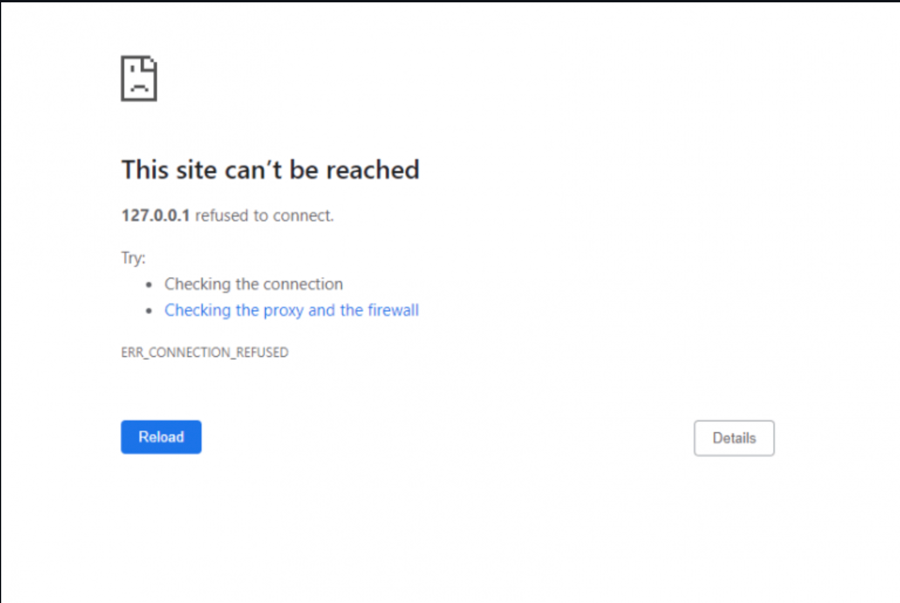
3 – After Grant, you will see a page like this, go back to console

4 – Enter your wallet and press Enter

Step 4 – Initialize & Start the Node
From nearcore folder initialize NEAR:
Note that if you want to download blocks faster just stop command after initialization and go further by guide.
Download the latest genesis and config, if config already exist just delete it and download a new one:
Download the latest snapshot from the snapshot page.
Create validator_key.json
Generate the Key file:
Copy the file generated to Mainnet folder.Make sure to replace YOUR_WALLET by your accountId
Edit “account_id” => full_pool_id
Change “private_key” to “secret_key”
Note: The account_id must match the staking pool contract name or you will not be able to sign blocks. File content must be something like : { "account_id": "xxx.poolv1.near", "public_key": "ed25519:HeaBJ3xLgvZacQWmEctTeUqyfSU4SDEnEwckWxd92W2G", "secret_key": "ed25519:****" }
Note: The account_id must match the staking pool contract name or you will not be able to sign blocks.
Start the Node
Setup Systemd Command:
Paste:
Note: Change USER to your paths
Command:
Command:
If you need to make a change to service because of an error in the file. It has to be reloaded:
Watch logs
Command:
Make log output in pretty print
Command:
View Logs with color
Command:
Becoming a Validator
In order to become a validator and enter the validator set, a minimum set of success criteria must be met.
The node must be fully synced
The
validator_key.jsonmust be in placeThe contract must be initialized with the public_key in
validator_key.jsonThe account_id must be set to the staking pool contract id
There must be enough delegations to meet the minimum seat price. See the seat price here.
A proposal must be submitted by pinging the contract
Once a proposal is accepted a validator must wait 2-3 epoch to enter the validator set
Once in the validator set the validator must produce great than 90% of assigned blocks
Check running status of validator node. If “Validator” is showing up, your pool is selected in the current validators list.
Submitting Pool Information
Adding pool information helps delegators and also helps with outreach for upgrades and other important announcements: https://github.com/zavodil/near-pool-details. The available fields to add are: https://github.com/zavodil/near-pool-details/blob/master/FIELDS.md.
The identifying information that we ask the validators:to provide are:
Name
Description
URL
Country and country code
Email (for support)
Telegram, Discord, or Twitter
Command:
STAKING POOLS
NEAR uses a staking pool factory with a whitelisted staking contract to ensure delegators’ funds are safe. In order to run a validator on NEAR, a staking pool must be deployed to a NEAR account and integrated into a NEAR validator node. Delegators must use a UI or the command line to stake to the pool. A staking pool is a smart contract that is deployed to a NEAR account.
Deploy a Staking Pool Contract
Deploy a Staking Pool
Calls the staking pool factory, creates a new staking pool with the specified name, and deploys it to the indicated accountId.
For Mainnet
From the example above, you need to replace:
Pool ID: Staking pool name, the factory automatically adds its name to this parameter, creating {pool_id}.{staking_pool_factory} Examples:
XXXfor mainnet, for example "nearuaguild"
Be sure to have at least 30 NEAR available, it is the minimum required for storage.
To change the pool parameters, such as changing the amount of commission charged to 1% in the example below, use this command:
You will see something like this:

If there is a “True” at the End. Your pool is created.
You have now configure your Staking pool.
Manage your staking pool contract
HINT: Copy/Paste everything after this line into a text editor and use search and replace. Once your pool is deployed, you can issue the commands below:
Retrieve the owner ID of the staking pool
Command:
Issue this command to retrieve the public key the network has for your validator
Command:
If the public key does not match you can update the staking key like this (replace the pubkey below with the key in your validator.json file)
Working with Staking Pools
NOTE: Your validator must be fully synced before issuing a proposal or depositing funds.
Proposals
In order to get a validator seat you must first submit a proposal with an appropriate amount of stake. Proposals are sent for epoch +2. Meaning if you send a proposal now, if approved, you would get the seat in 3 epochs. You should submit a proposal every epoch to ensure your seat. To send a proposal we use the ping command. A proposal is also sent if a stake or unstake command is sent to the staking pool contract.
To note, a ping also updates the staking balances for your delegators. A ping should be issued each epoch to keep reported rewards current on the pool contract. You could set up a ping using a cron job or use Cron Cat.
Steps
Create a new file on /home/<USER_ID>/scripts/ping.sh
Create logs folder:
Change execute permission for ping.sh file:
Create a new crontab, running every 2 hours:
List crontab to see it is running:
Review your logs
That is it, now you need to have enough delegated tokens to be an active validator, welcome to decentralized Near Protocol!
Last updated